Just before I cleared the decks in preparation for the arrival of a laser cutter that I have been impatiently waiting for (for two and a half years!), I cranked out a few more drypoint prints for cards more suitable for those not into the floral elements on my previous ones.
Tag Archives: print
Psst… want to see my etchings? Drypoint on a budget
I’ve been experimenting with drypoint printing technique – I had to search out my college notes to review the technique I first learnt there. I’m developing drypoint on a budget, so no special press or acrylic plates. Drypoint for the uninitiated is where a design is etched into a suitable material (typically perspex) before filling the resulting grooves with ink, wiping off the excess and then printing onto paper. Further prints can be taken by reinking the plate and repeating the printing process until the burrs from the etching flatten and the ink no longer stays in the grooves.
Here are four individual prints of my first go, printed on different papers. Technically, I don’t think drypoint prints are normally coloured after printing but I have used a light touch with some coloured pencils to augment the final card.
Continue reading
College – Term 5 – Final Major Project – another paper craft light shade
Well after a flurry of activity over the last two weeks watching my new studio get installed, and then decorating it, constructing furniture and moving in – as well as emptying out and putting back to right the dining room, conservatory and some of the craft room – I have my first ‘working’ day in the studio.
Of the various things I have to catch up with, college work is one priority as I have a mid-way assessment tomorrow. Consequently, I have taken pics of my latest light shade in my series. This one features one of the patterns I gleaned from a visit to the Islamic artefacts at the British Museum, drawn into Illustrator, adapted for the round and then screenprinted in opaque white ink onto thick tracing paper, and then constructed onto a card frame. As with the previous post, here are photos of the shade in daylight, and internally lit at night.
Handprinted Quilts
I’ve just put the finishing touches to two small quilts. They both feature my own pattern design, which I hand screen printed at college onto fabric offcuts using black textile ink. The first shows the patten, unadulterated, quilted using black cotton and free motion machine stitch round each of the circle motifs. The second is dyed with Adirondack Color Wash sprays (which despite my best efforts still covered everything nearby!), dried, heat set, rinsed, ironed and then quilted in the same way. Both are hand bound and labelled. I use backstitch to hand sew labels for my quilts as this is unlikely to wash off! They are both 22.5″x42″ in size.
College – Print – Term 4 – Final Pieces
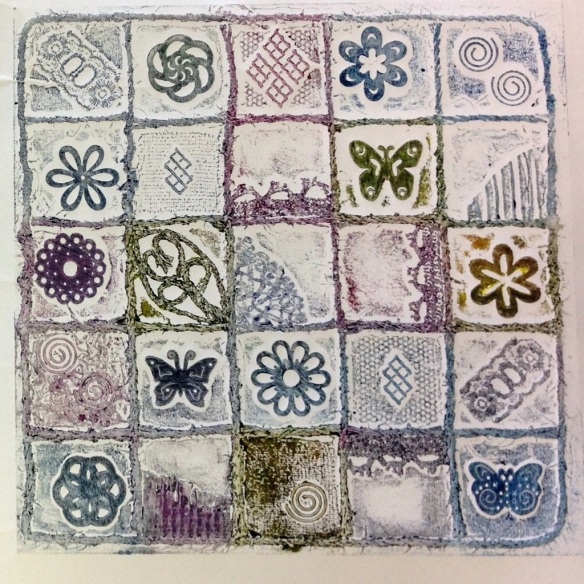
This term in my print lessons I’ve revisited dry point – with a new twist which I hope to develop and share in due course… And then there was the lino cut – it turns out that lino is a lot easier to carve when warm, but crumbles when hot… And there was the collagraph – sticking items to a piece of card, liberally coating with PVA and allowing to dry before using it as a print plate. Part of the final project is to take prints that aren’t quite exhibition standard and embellish them a little:
Here’s the before and after of a piece of serendipity – I was washing out my large screen with a large repeat pattern on it, and the water/ink mix was caught by the scrap paper beneath – I loved the texture and distressed colours. I embellished it with watersoluble graphite pencil and a bit of frottage on sandpaper to add texture, and a distress ink mix to tone down the white paper:
Finally, I wanted to play around with a repeat pattern on a large scale… the screen alone was two feet square – and I chose to run off a couple of lengths of wallpaper as well as a couple of multicoloured prints:
Not sure that I’d want that repeat in black and white across the chimney breast!
College – Term 4 – Print – Collagraph
Drypoint print – the gallery editions
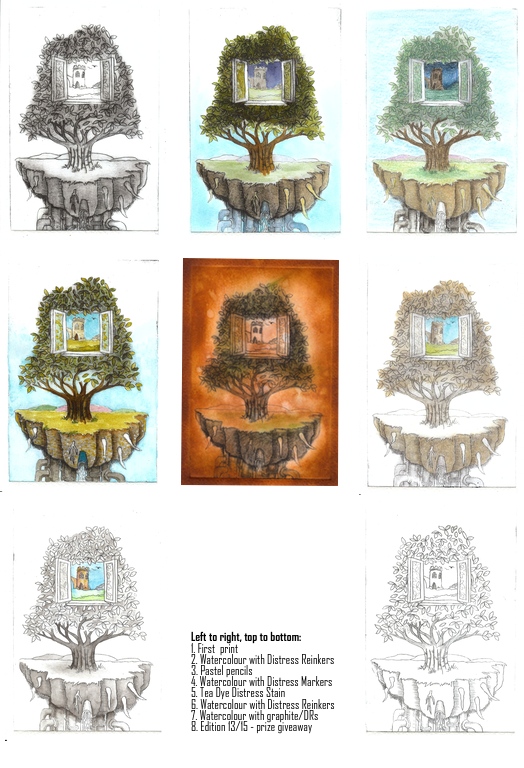
As I mentioned in my original post, I planned to further work on my drypoint prints, adding tone and colour. Here is a gallery of the results – and the bottom right is the print I have given away, number 13 of 15 – and may be the winner will want colour added? Most of these are now mounted for the end of term exhibition. There are some other prints available to purchase if you’d be interested…
I think some work better than others – I’m not happy with the tea dye one, it’s too dark. I am happy with the greyscale/monotone trees with the colour window. The pastel is very much in keeping with Jacek Yerka’s work on which this is loosely based as he prepares his paintings with a pastel version first. Let me know what you think
Print – Term 3 – Drypoint
Our theme across all our activities this term at college is ‘influenced by an artist’. I’ve chosen the Polish surrealist Jacek Yerka to base my work on, and for print I was asked to do a drypoint. I discovered this is an etching process where the ink is trapped in the grooves and burrs made by scratching onto metal or acrylic and then transferred onto the substrate using pressure. I scratched my drawing onto a sheet of clear acrylic sheet (approx. A5 size), applied etching ink (which is very viscous), removed most of it, and then printed onto previously wetted watercolour paper using an etching press. Any ink left on the acrylic gets transferred to the paper, so removing it from where you don’t want it is quite laborious! I was sooooo excited as the first print was revealed, and that didn’t really diminish as I did a limited print run. I’m going to have a go replicating it at home using one of the many die cutting machines in place of the etching press, and more common crafting inks. Here is the basic print, and I’ll be colour washing some in due course:
College Week 6 – Print
I’ve just noticed that I missed out the result of my print module in my blog updates – so here it is:
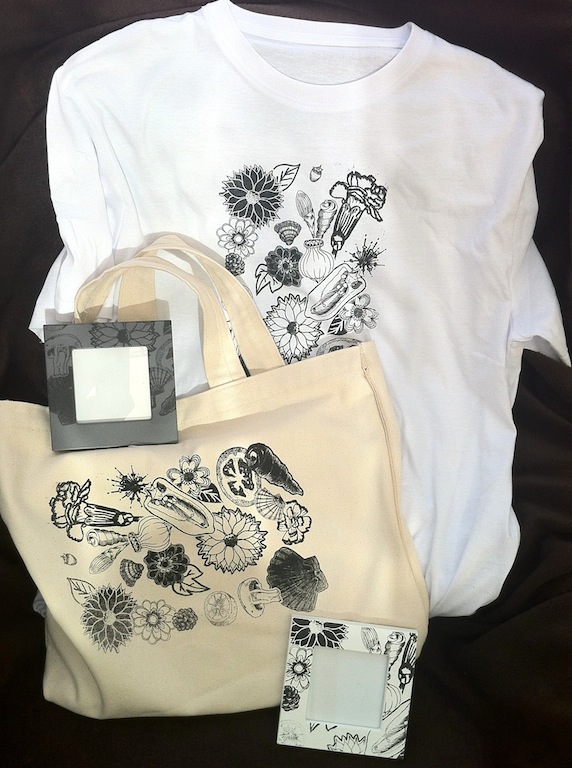
These items were screen printed with black acrylic ink. I arranged my own drawings into a collage which was then transferred to the screen for printing. There were a number of other experimental prints with different colour combinations, but these were the ones I liked the best.


