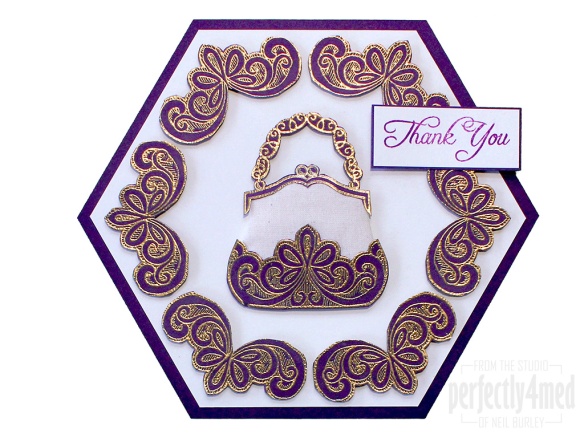
 Back to the bags this week – specifically the Creative Expressions Bijou Bag Singles pack, containing the bag and the sentiment stamps. I decided to quilt the bag just to give a bit of a different appearance and texture. The principle is simple enough to make the card, though it’s not a quick make due to all the fussy cutting! This would also work well to frame some home decor pieces too.
Tag Archives: Cosmic Shimmer
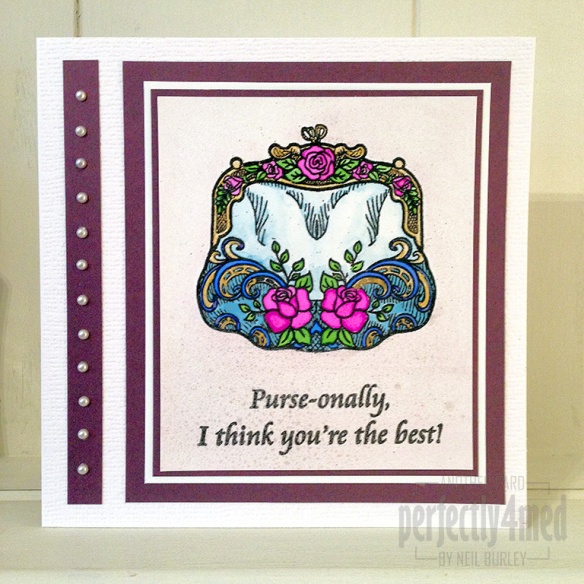
Rose Blossom Purse Card (for Creative Expressions)
 Welcome to another year on my blog, and we kick off with a card featuring the latest Creative Expressions Singles stamp – Rose Blossom Purse. The Singles range are rubber stamps pre-mounted on cling foam and cut out ready for slapping onto acrylic plates for stamping. I’ve done a simple card, concentrating on using lots of different colouring techniques for my tutorial…
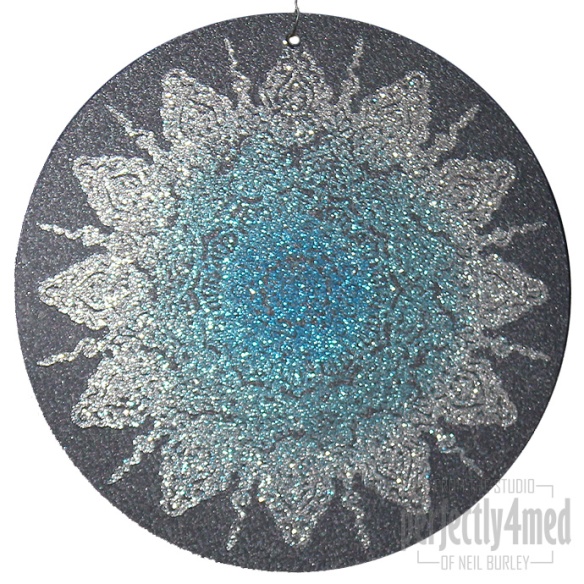
Painting with Glitter (for Creative Expressions)
 Happy Christmas! Hope you’re having a great day 🙂
For my final Creative Expressions DT post this month, I’ve used the fabulous ‘Rangoli’ singles stamp from their Henna range of mounted rubber stamps. The image is printed onto acetate using the Cosmic Shimmer Flake & Glitter glue before being ‘painted’ with the Cosmic Shimmer Polished Silk Glitters. Each image is mounted either side of a cardboard circle so that you can change your colour scheme each year to match that of the rest of your decorations. A quick make while everyone else is having a post-turkey snooze 😉
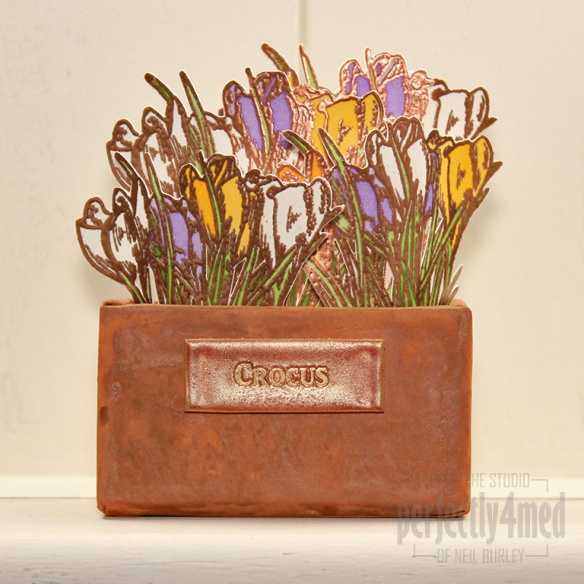
Crocus Planter (for Creative Expressions)
Couture Creations Dreamboat Collection at Creative Expressions (Part 2)
It’s been a real struggle not to share these projects over the weeks that I have had the Couture Creations 3-in-1 Dreamboat sets – co-ordinating dies, embossing folder and clear stamps in one package. The sets were destined for TV appearance and there’s been a blog embargo until this week’s blog hop – but here are another five projects showcasing these fabulous sets! For full making details, continue reading.
AS SEEN ON CREATE & CRAFT TV over weekend 16th-18th November 2013.
Crocus Card (for Creative Expressions)
 It’s another bleak day as I look out of the studio window, but I can inject a bit of late winter colour with another project based on Creative Expressions’ Winter Flowers stamp set.
You will need:
Creative Expressions Winter Flowers unmounted stamp set
Cosmic Shimmer Embossing Powder: Ancient Copper Metallic
Cosmic Shimmer Misting Ink Spray: Sunflower/Meadow Lime/Soft Moss/Purple Violet
Cosmic Shimmer Mist: Pearl
That Special Touch Border Mask: Elegance
Foundations Card: Milk/Teal/Dark Roast Coffee/Coconut White
Ranger Perfect Medium: Clear
Ranger Distress Ink: Peacock Feathers
- Ink up the crocus stamp with Perfect Medium and stamp onto Coconut White card. Cover with Ancient Copper Metallic embossing powder, tap off the excess and heat set.
- Squirt one spray of each of the Misting Ink colours into a suitable container and use a water brush, or paintbrush to paint the ink into the embossed outline for a watercolour effect. Leave to dry.
- Cut out the flower once dry.
- For the border, cut a strip of Coconut White card just wider than the border mask. Use the Peacock Feathers Distress Ink on an applicator tool to press through the border mask. Dry with a heat tool before spritzing with Cosmic Shimmer Pearl Mist. Dry.
- Print the sentiment with Perfect Medium and emboss before.
- Mount onto a card as shown, using foam pads to raise the flower cluster.
Couture Creations Dreamboat Collection at Creative Expressions (Part 1)
 Welcome to the Creative Expressions Couture Creations Blog Hop! Hopefully you got here from Pam Smith’s blog, but if you didn’t, here’s the start at Creative Expressions News Blog!
The Couture Creations Dreamboat 3-in-1 sets include coordinating clear stamps, embossing folder and dies that work together in so many different combinations.
And one randomly selected person commenting on this project before the closing date will win a fabulous prize package:
– Zentangled Saying Pre Cut Stamp
– Glitter
– Cosmic Shimmer Dries Clear Glue
– Cosmic Shimmer Silver Shine Detail Embossing Powder
PLEASE NOTE:
THE PRIZE WINNER HAS BEEN SELECTED – further comments are welcome, but are no longer eligible for the blog hop prize package.
If you want to sign up to follow my blog, the widget is right at the bottom of the comments… and here is my project for the blog hop:

You will need:
Couture Creations Dreamboat: Doilies 3-in-1 set
A4 sheet Foundations Milk cardstock
A4 sheet Foundations Dark Roast Coffee cardstock
Ranger Liquid Pearls: Dark Chocolate
Cosmic Shimmer Embossing Powder: Denim Lilac Aurora
Cosmic Shimmer Angel Fibres: Enchanted Metallics
Cosmic Shimmer Specialist Acrylic Glue
Clear embossing ink (e.g. Ranger Perfect Medium)
A dark brown Distress Ink (e.g. Walnut Stain) and applicator tool
- Use the largest die to cut out one shape from white card stock. Ink the lower of the two medium circles on the stamp with embossing ink and print onto the cut piece, lining up the stamp to the shape. Cover with embossing powder, tap off excess and heat set.
- Repeat using two die cuts of larger of the two daisy type dies and emboss using the petalled circle toward the top of the stamp.
- Repeat using two die cuts of the smaller daisy type die and emboss using the centre of the first circle you using in 1.
- Finally, die cut two pierced hexagons and emboss with the pattern in the centre of the other medium circle on the stamp set.
- Using the embossing folder, emboss pieces of Milk card stock – you need one of the largest circle (bottom left), and two of the medium circle above. Cut these out with a knife or scissors, leaving a small border.
- Edge the embossed sections with the brown Distress Ink to soften them, then the embossed pieces as shown using foam pads. Top off the layer with a punched flower centre and add Liquid Pearl dots as desired.
- Prepare the Angel Fibre background by laying some out on a clean sheet of paper and then laying another over the top prior to ironing over with a medium hot iron – you only need to do it briefly. If heated enough, a flat sheet results that doesn’t fray. If heated too much, it will shrivel and discolour. Attach to the Dark Roast Coffee card stock with double sided tape and trim to shape.
- Cut a strip of Milk card stock and edge with Distress Ink. Cut a narrower strip of Dark Roast Coffee card stock and notch either end – stick down to previous strip. Cut two further brown strips, slightly wider, bend to make a bow and stick down. Add embossed and mounted sentiment and finally the two hexagonal embossed shapes.
- Mount all the layers together and embellish as desired with Liquid Pearls.
Thank you for visiting my blog, please leave a comment below in order to be in with a chance of winning a prize!
Once you have done that, you will need to click here to visit Donna Ratcliffe’s blog.
To help you along the way, here is a list of the Blog Hop:-
Start page, prize details and how to take part: Creative Expressions News Blog. The blog hop started on Tuesday 19th November at 10am and ends Friday 22nd November at 5pm.
- Kim Robertson
- Pam Smith
- Neil Burley (this page)
- Donna Ratcliffe
- Tracy Heaton
- Kerry Hickton
- Kim Dellow
- Trace Metcalfe
- Cathi O’Neill
- Tracy Evans
Thank you for taking part in our Blog Hop – good luck!
I’ll be posting five more Dreamboat Collection projects on Saturday, and my normal weekly post for Creative Expressions tomorrow (Wednesday). Keep coming back for creative inspiration 🙂
AS SEEN ON CREATE & CRAFT TV over weekend of 16th-18th November 2013.
Misted Mosaic Frame (for Creative Expressions)
 Welcome to another of my weekly posts for Creative Expressions. We’re still working with the Winter Flowers stamp set and this time I have used it as a centrepiece for a mosaic frame. The frame is made of MDF, covered with card and available as a two piece kit for maximum flexibility. I’ve made the mosaic ’tiles’ from card misted with Cosmic Shimmer Vintage colours. For more making details, read on 🙂


