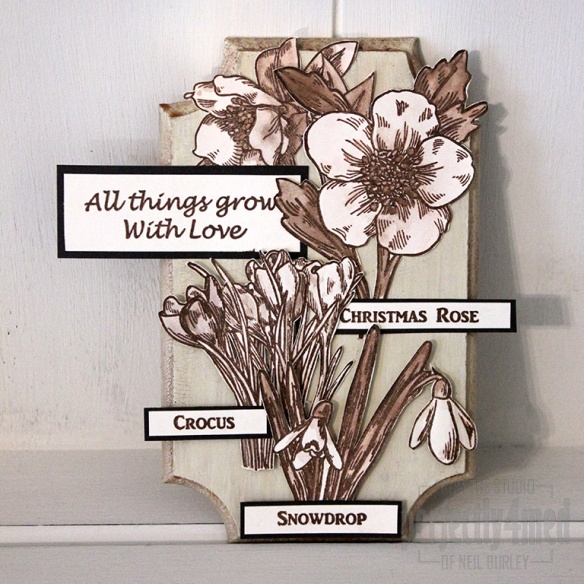
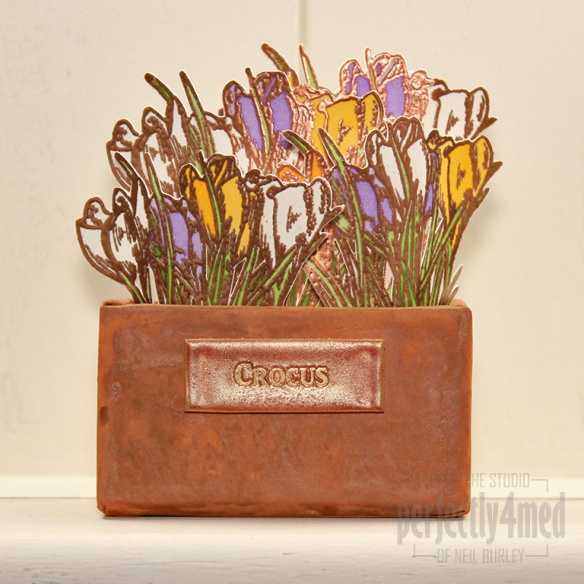
 My final project with this month’s Creative Expressions’ Winter Flower stamp set is this cute little terracotta planter resplendent with colourful crocus. Except it’s not terracotta. And you won’t need to water the crocus either. May be just a dusting now and then 😉
For making information, read on.
Category Archives: Altered Art
More Winter Flowers for Creative Expressions
Sparkling Snowflakes
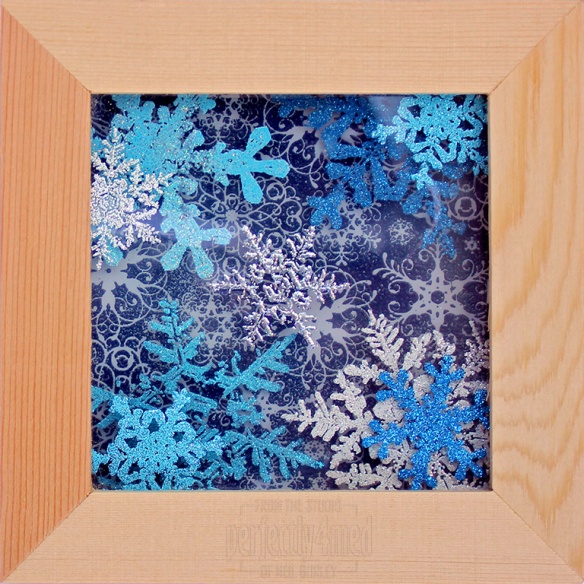
A quick 3D layered collage for winter featuring heat proof acetate and embossing glitters – my design team blog post project for WOW! Embossing Powders for their Christmas & Winter challenge theme this month. More details on how I made this are over at their blog.
Christmas Art Journal Workshop
Some how, in between packing boxes in the studio, completing Day 1 of CC102 and catching up with various admin jobs, I’ve managed to snatch some moments to work on December’s workshop project – a hand made Christmas Art Journal. For more details and to book your place, go to my Workshops Page.
CC102: Day 1
 The longer-term followers of this ‘ere blog will probably vaguely remember that I did Tim Holtz’s Creative Chemistry 101 online class last year. He’s only gone and started CC102 today – there’s thirty more techniques he’s sharing – and of course I had to sign up. So here’s Day 1: six things to do with Distress Paints. I’m not allowed to share the techniques, but you won’t need to look far elsewhere on my blog to see where I have used them with conventional acrylics. That is, all but the first – the marbling effect is unique to Distress Paints because of their make up.
Design Team Call: Second Round
I managed to get through to the second round of the Creative Expressions Design Team Call 2013-14, and the next challenge was to create a project using their ‘Belle of the Ball’ stamp set. This comes as a rubber sheet which needs cutting up and mounting on the foam backing suitable for use with acrylic blocks – some of the images could have done with a little more space round them, but I managed 🙂
The closing date was yesterday, which allows me to share the projects with you – and yes, I did more than one: one to show I can make a card, another to demonstrate I can think outside the box, and a third to demonstrate altered art and making something out of a cheap pound-shop photo frame. The centre canvas one is quite a size, and even the bow is adapted from the dress stamps. The frame one is a 4×6″ aperture, with the centre coloured dress mounted in front of the glass – printed with Versacraft black ink onto white cotton and coloured with ProMarkers.
I’ll share another tip with you – the label that accompanies the rubber stamp sheet laminates well, and the foam covered stamps stick nicely to it and the whole lot still slides nicely into the original packaging. Perfect storage solution 🙂
Altered Art Book Pages for a card
 It’s my turn to post again over at the Crafting Cafe, and this month the theme is ‘altered art’ with the sponsor once again the fabulous Delicious Doodles. I’ve printed their Pansy & Butterfly digistamp directly onto old dictionary pages – for more details, go to my post on the design team blog.
Autumn arrives…
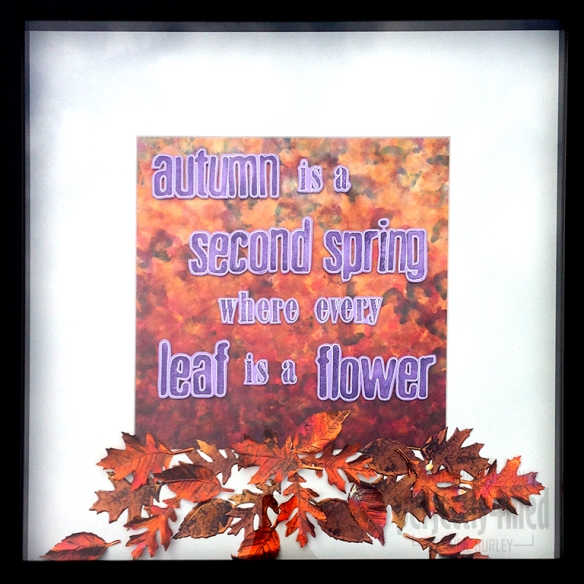
It’s officially autumn here in the UK, and on cue, the sun has disappeared, the temperature has plummeted and the rain is thrashing down! I’m having a go at getting on the Creative Expressions Design Team, and submitting a last minute entry to their design team call which closes today. As part of the application, I had to create a piece on the theme of ‘autumn’ and spent Wednesday making this piece. It’s in a 50cm square frame and features a 12×12″ alcohol inked glossy background, stamped and heat coloured embossed copper leaves and stamped and outlined lettering. For more making details, read on!
Faux Stained Glass, Art Nouveau Style
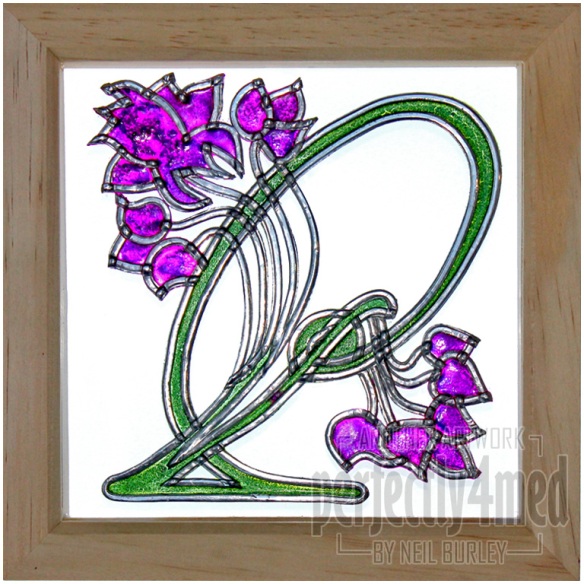
It’s another WOW! Embossing Powder Challenge, and my design team post this month takes their ‘Art Nouveau/Art Deco’ theme as its inspiration. I studied the period and art for a time whilst at college, and I loved the classic whiplash shape, the stylised botanicals and especially the stained glass. Here is my homage, using self-adhesive lead and embossing powder as my only materials (other than the 6×6″ deep frame…). More making instructions over at my post.
Experimental Stencil Tag
I took a little time out from enjoying the [rare] sunny weather today to put together this experimental tag. I used the Random Circles mask from Tando Creative to deboss the circles – inked up with Spiced Marmalade Distress Ink, embossed onto a pre-decorated tag from my stash, and then covered with Vintage Photo Distress Powder for that authentic rusted look. I used the same mask to select areas of cardstock from the Tim Holtz Lost and Found stash and then stitched them onto the tag using my machine – stitching on card seems to be a bit trickier than into fabric! I aged all the edges with Vintage Photo Distress Ink. A few TH cogs and sprockets, and various metal embellishments decorated with Distress Paints are then added with brads before adding the florist ad from the TH stamp set. A bit of unravelled jute string finished the tag off nicely. Not really my normal style, but hey, that’s what experimentation is about 🙂

