Intertwine – tangle pattern

Intertwine - tangle pattern


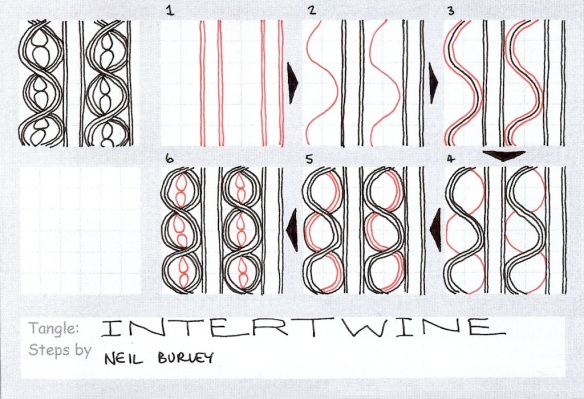
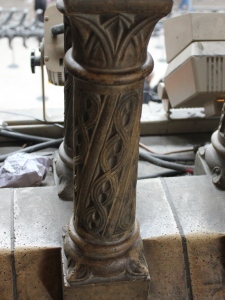
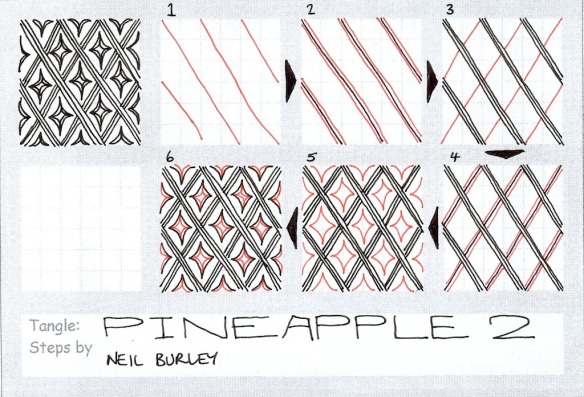
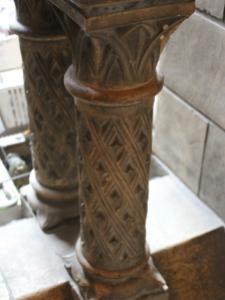
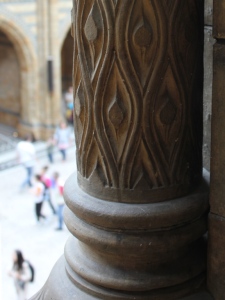
The final carved pillar inspired tangle pattern following my trip to the Natural History Museum in London. This one doesn’t make any effort to weave the curved mouldings – it might be good to try if you have the inclination. Please note the offset ends in step 4, which helps the placement of the curves that are ‘underneath’.

IMG_0588_w


Continue reading

Liberty 100 – tangle pattern (and giveaway)

Liberty 100

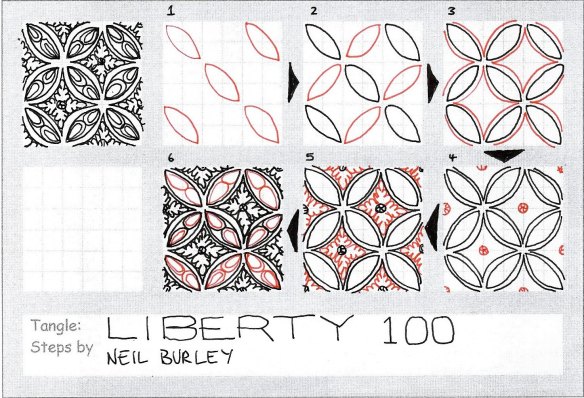
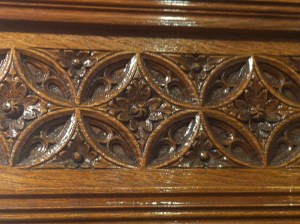
This is my 100th published tangle pattern. It’s a step-by-step breakdown of a carved wood panel in one of the side rooms on the ground floor of the Liberty department store, off Regent Street in London. It’s quite an intricate, full pattern, but builds easily.

Liberty_w

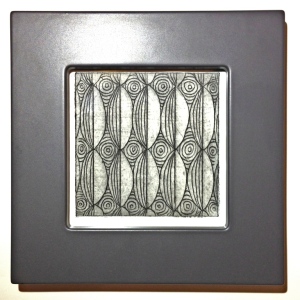
In recognition of my 100th tangle pattern (did I mention that yet?), I’ve got five limited edition drypoint prints of my tangle pattern ‘Rokpool’ to give away. Each will be numbered and signed by the artist (me). If you’d like the chance to win one of these unique prints, leave a comment below indicating what you will do with the print if you win, and sign up for email updates for my blog if you haven’t done so already. Entries will close at midnight GMT on 18th January, and I will choose my favourite top five commentators on 19th January 2013.

IMG_3380_wThis is one of the print editions – each is a unique print of the same engraving plate and will be framed as shown (though see caveat below!). The print itself is 6.5 inches square. I’ve engraved, printed and mounted them myself, so you will be receiving a totally one-off piece of artwork. The giveaway is open to all, international or local, though I do reserve the right to send an unmounted print if the postage turns out to be prohibitively expensive!

And if there’s any of my tangle patterns you’d like a similar print of, let me know – I’m very happy to take commissions 😉

And you’ll be pleased to know there are more tangle patterns on their way – I’ll be publishing one each Saturday for the next few weeks.

UPDATE 19-JAN-13:
The lucky winners have been selected, and they are: Nana, Joyce Ford, Melinda Butcher, Sandy F and Kris. Congratulations, and watch your email inbox for details on how to claim 🙂

Continue reading

LRI – tangle pattern

LRI


I’ve finally sat down to draw some new tangle patterns 🙂

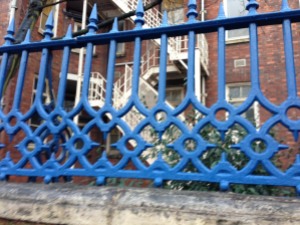
This is LRI, based on iron railings around the Leicester Royal Infirmary next to Welford Road. It’s amazing how many patterns there are to be quickly snapped with a camera phone and broken down in to step by step instructions:

LRI_w


On Saturday I’ll publish my 100th tangle pattern – inspired by a wood panel in Liberty, Regent Street.

Continue reading

Pumpkin Surprise – tangle pattern

I don’t normally go for anything Hallowe’en. I do however like some of the crafty aspects of the time of year, particularly the pumpkin carving. I’m not entirely sure why, but I woke up this morning working out whether you could make a Hallowe’en tangle pattern. A quick sketch later solidified the initial idea, and following a few trial runs after breakfast came this:

Halloween tessellation

This is a tessellation tangle, or a tangle that tessellates! You’ll need to draw it several times to get the hang of it (or at least I did). Points to note: bats alternate with ghosts – bats have curved bottoms, ghosts have pointy bottoms (step 2). Bats wings are crinkled top and bottom (step 3), ghost ‘wings’ are smooth tops and crinkly bottoms (step 4). Oh and colour really makes this one come to life 🙂

Continue reading

Twelve Tags of 2012 – September

I’ve been playing with various options of putting colour onto metal – here are the results! I’ll be showing how to do them at the Manic Stamper Craft Club on Saturday.

The tags are first covered with metal foil tape (really thin foil – serves me right for going to the local poundstore!) and then I used a small embossing ball tool to emboss the outlines. Rub over the whole tag with black acrylic paint, and then wait for it to almost dry before rubbing off the paint from the tag – it should catch in the outlines. Add colour with acrylic inks (I used a paintbrush), Promarkers or alcohol inks (I used the Adirondack alcohol ink pen filled with blending solution to pick up dried alcohol inks from a palette). I love the aged look to the metal caused by the black acrylic, and the translucent colour from the Promarkers/alcohol inks. The acrylic inks are more luminous due to their opacity. By the way, alcohol seems to denature acrylic, so if your black coating doesn’t work out, wipe over with alcohol hand gel and try again!

And as a bonus, I’m publishing the forget-me-not doodle as a tangle pattern 🙂