 This project for Jones Crafts shows the versatility of scrapbooking papers – why do a 12×12″ layout when you can make wearable art? Combine with Jones’ buttons and perfect jewellery sets can easily be made. Mount your pieces in the Kaisercraft large jewellery organiser and your wearable art becomes a home decor piece in it’s own right. The paper beads are splash proof thanks to the varnish, are tough due to the lamination, but are not water proof and will be damaged if soaked.
Tag Archives: design team
Here Comes The Bride (for Jones Crafts)
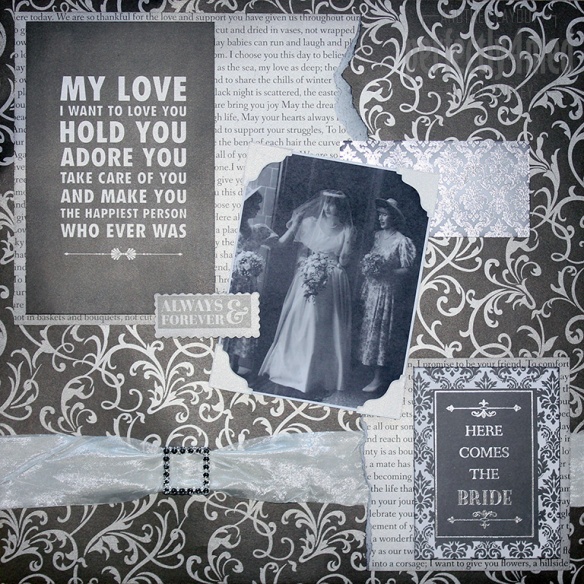 It’s been quite a while since I did a 12×12″ scrapbook layout… but my recent receipt of the DT goodie box from Jones Crafts has inspired this layout featuring the Bella Celebrate Paperz collection. This is the first of many DT projects in the run up to the Stitches trade show for Jones Crafts. It includes several designs of double sided pearlised 12×12″ sheets, die cut collections, 3×4″ and 2×4″ foiled project cards as well as coordinating organza flower brads and 3D stickers. Read on for making information…
Sewing Room Door Plaque (for Creative Expressions)
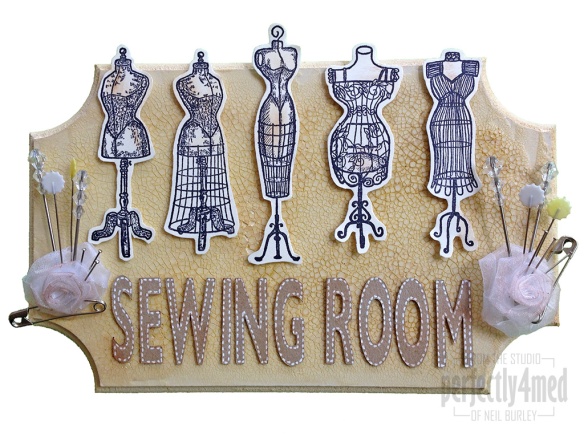 Another of my projects featuring Creative Expressions’ Antique Dressform stamp set. This one is sporting a few embellishments that I wouldn’t consider to be my normal style, but the ribbon roses (also from CE) matched the theme perfectly and made a great pin cushion for the various pins I nicked from my quilting stash. No step-by-step photos this week, but there’s still a kit list and instructions for those that want them:
New Year, new news
I’m delighted to share that I have been invited to join the fabulous Design Team working with Jones Crafts in Nottingham – and I’ve accepted. Keep a look out for brand new projects using kit from Graphic 45, Marion Smith Designs and 7 Gypsies amongst others.

Watercoloured Cyclamen Card (for Creative Expressions)
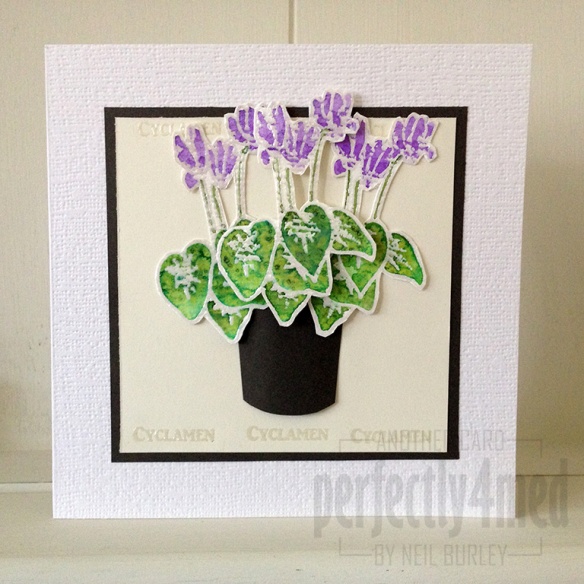
It’s my first post for Creative Expressions since I joined their Design Team earlier in October. I’ll be posting a new project each week on a Wednesday. This month the projects will be featuring the Creative Expressions Winter Garden unmounted stamp set, with this card featuring the wonderful cyclamen stamp.
To download a step-by-step worksheet, click here: Cyclamen Card Worksheet [PDF]
A Driving Dragon?!
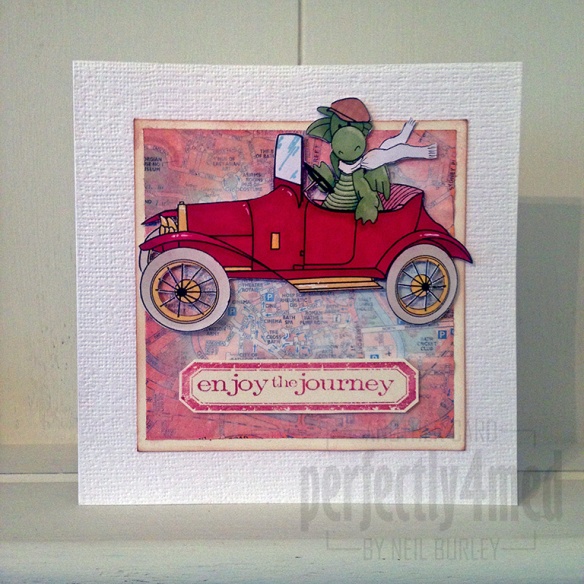
It’s still ‘anything goes’ month over at The Crafting Cafe sponsored by the fabulous Stamping Dragon Designs – I’ve chosen the Rupert’s Car digistamp for my card.
Since my ProMarkers are currently on loan to my young tutee, I’ve used my Fashion Design set of Tria Markers to colour in the digistamp. This has the benefit of a preselected palette of colours that work well together. I’ve added extra colour-on-colour to add the tartan stripes to the hat and the shading. I felt Rupert really needed scarf and goggles, but only the scarf made it 🙂
For more making details, pop across to my design team blogpost.
The Creative Expression Experience
I spent the day yesterday in the company of most of the new Creative Expressions Design Team, and what a day it was 🙂
Aside from the personal introductions, I also had a sound introduction to the product line – and I have been sooooo missing out on some of these goodies. Of course the credit card is now getting battered as I build up my stock of Creative Expressions/Cosmic Shimmer goodies ready for creating my design team projects, but play time ahead! I hope to be adding a quick product review to each of my posts as well as I learn the dos and don’ts of each medium. Watch this space for CEDT projects each Wednesday: I’m busy working on a top secret project for them as well, ready for a future TV airing – fingers crossed 🙂
Exciting news!
Perfect in Pastels…
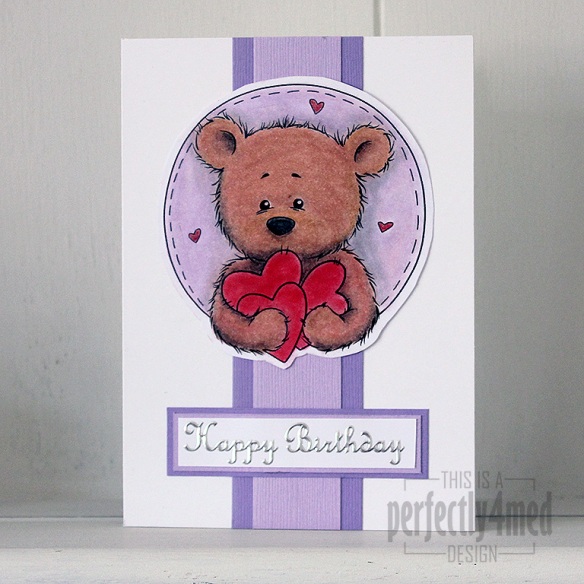 It’s ‘Let’s Celebrate’ theme over at The Crafting Cafe this month, and for my DT post I chose the fantastic ‘Bundles of Hearts’ digistamp from
 ![]() , their sponsors this month.
, their sponsors this month.
I had a go at being a bit different, and decided to try and make the equivalent of an embossing folder to build up the image into an embossed one – it worked to a degree, but no where near good enough to run with, and then I ran out of time.
So I got out the PanPastels to colour in Benson Bear, adding shading and filling in the small areas with Derwent soft pastel pencils. I blended those in with a paper stump, which was also quite handy for moving the pastel off the laser-printed black areas. Any pastels running over edges were gently rubbed back with an eraser. I used a spray fixative to seal everything before assembling the card. The sentiment is a peel off, and the coloured card from Bazzill. I love the texture that the pastels give to the fur 🙂
And once I’ve mastered the art of converting a digistamp to an embossed image, I’ll let you know!

