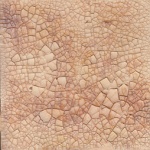
As promised in my previous post, I used spray inks and copious amounts of water on my test journals. I’m delighted to say that all three passed with flying colours. I wanted to check that the paper didn’t become saturated, there was minimal bleed through of colour to the reverse of the page, and that generally the journals behaved themselves when wet. Here are the results, the journals I used and any notes I made:
Frisk layflat Sketch Pad


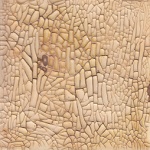
This is an absolutely perfect journal – it is 300gsm, pretty much A5 in size, with a laminated cover and 20 pages. The pages really do lay absolutely flat with no gutter in the middle fold – it looks like Frisk have managed to fuse flat sheets of cartridge paper together to make the pages. There was no more buckle than I would expect from wetting any paper and no bleed through. A cracking journal!
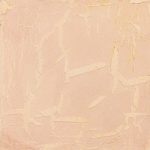
Frisk Sketch Book


This is a 140gsm, 40 page, A5 landscape format journal with staple binding. It has a laminated black cover, though kraft covers are available as are other sizes. The pages are definitely a lighter weight than the layflat sketch pad, but are no less flimsy when wet. Again, no bleed through to the back of the page. An excellent everyday journal.
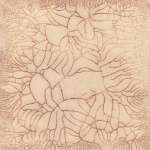
Hahnemuhle Travel Booklets


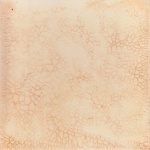
I used the small A6 size which makes for a dinky journal, but handy for very quick pages, or journaling on the go. At 140gsm with 20 pages, the twin pack of booklets features stitched binding. The paper was a little more absorbent, with the wet ink soaking in to the page faster than the other two. Even so, there was no bleed through the page and thus it passed the test. It also comes in various sizes.
As a result of my tests, I was happy to recommend all of them to Hochanda buyers in preparation for my art journaling shows on 16th June 🙂