Sparkling Snowflakes

Sparkling Snowflakes


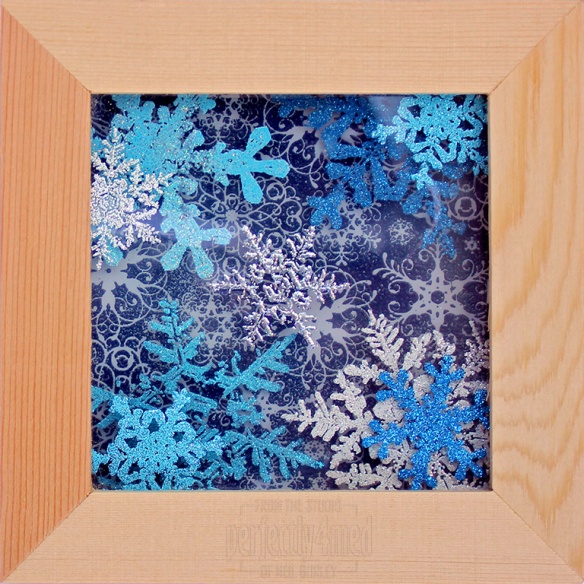
A quick 3D layered collage for winter featuring heat proof acetate and embossing glitters – my design team blog post project for WOW! Embossing Powders for their Christmas & Winter challenge theme this month. More details on how I made this are over at their blog.


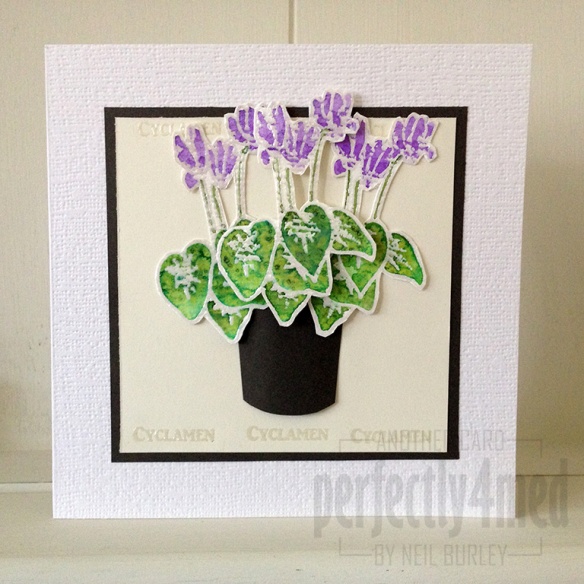
Watercoloured Cyclamen Card (for Creative Expressions)

Cyclamen Card

It’s my first post for Creative Expressions since I joined their Design Team earlier in October. I’ll be posting a new project each week on a Wednesday. This month the projects will be featuring the Creative Expressions Winter Garden unmounted stamp set, with this card featuring the wonderful cyclamen stamp.

To download a step-by-step worksheet, click here: Cyclamen Card Worksheet [PDF]

Continue reading

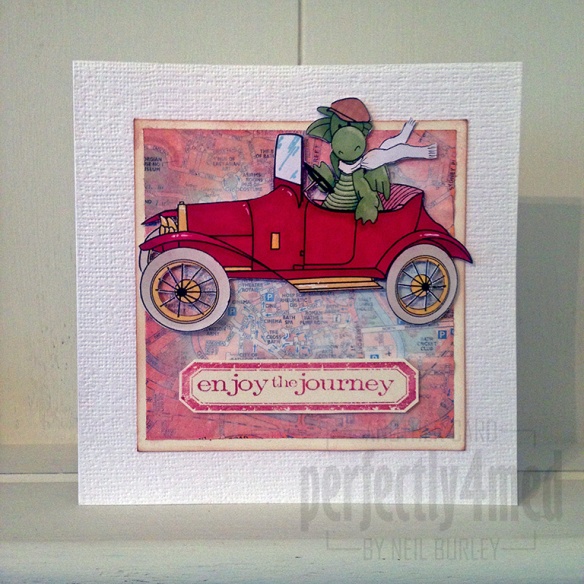
A Driving Dragon?!

Driving Dragon


It’s still ‘anything goes’ month over at The Crafting Cafe sponsored by the fabulous Stamping Dragon Designs – I’ve chosen the Rupert’s Car digistamp for my card.

Since my ProMarkers are currently on loan to my young tutee, I’ve used my Fashion Design set of Tria Markers to colour in the digistamp. This has the benefit of a preselected palette of colours that work well together. I’ve added extra colour-on-colour to add the tartan stripes to the hat and the shading. I felt Rupert really needed scarf and goggles, but only the scarf made it 🙂

For more making details, pop across to my design team blogpost.


The Creative Expression Experience

Creative Expressions


I spent the day yesterday in the company of most of the new Creative Expressions Design Team, and what a day it was 🙂

Aside from the personal introductions, I also had a sound introduction to the product line – and I have been sooooo missing out on some of these goodies. Of course the credit card is now getting battered as I build up my stock of Creative Expressions/Cosmic Shimmer goodies ready for creating my design team projects, but play time ahead! I hope to be adding a quick product review to each of my posts as well as I learn the dos and don’ts of each medium. Watch this space for CEDT projects each Wednesday: I’m busy working on a top secret project for them as well, ready for a future TV airing – fingers crossed 🙂


CC102 Day 5 – a big thank you from me

Chalkboard TagAt the risk of being completely cheesy  – here’s a great big thank you using my favourite technique from Creative Chemistry 102 taught by Professor Tim Holtz with his more than able assistant BTS Mario. Unfortunately I don’t have the time at the moment to do all the other technique tags given I’m taking my studio apart for repairs on Tuesday, but I had to fit this one in 🙂


CC102: Day 1

Day 1: Distress PaintsThe longer-term followers of this ‘ere blog will probably vaguely remember that I did Tim Holtz’s Creative Chemistry 101 online class last year. He’s only gone and started CC102 today – there’s thirty more techniques he’s sharing – and of course I had to sign up. So here’s Day 1: six things to do with Distress Paints. I’m not allowed to share the techniques, but you won’t need to look far elsewhere on my blog to see where I have used them with conventional acrylics. That is, all but the first – the marbling effect is unique to Distress Paints because of their make up.


Design Team Call: Second Round

I managed to get through to the second round of the Creative Expressions Design Team Call 2013-14, and the next challenge was to create a project using their ‘Belle of the Ball’ stamp set. This comes as a rubber sheet which needs cutting up and mounting on the foam backing suitable for use with acrylic blocks – some of the images could have done with a little more space round them, but I managed 🙂

The closing date was yesterday, which allows me to share the projects with you – and yes, I did more than one: one to show I can make a card, another to demonstrate I can think outside the box, and a third to demonstrate altered art and making something out of a cheap pound-shop photo frame. The centre canvas one is quite a size, and even the bow is adapted from the dress stamps. The frame one is a 4×6″ aperture, with the centre coloured dress mounted in front of the glass – printed with Versacraft black ink onto white cotton and coloured with ProMarkers.

I’ll share another tip with you – the label that accompanies the rubber stamp sheet laminates well, and the foam covered stamps stick nicely to it and the whole lot still slides nicely into the original packaging. Perfect storage solution 🙂



Altered Art Book Pages for a card

Pansy And ButterflyIt’s my turn to post again over at the Crafting Cafe, and this month the theme is ‘altered art’ with the sponsor once again the fabulous Delicious Doodles. I’ve printed their Pansy & Butterfly digistamp directly onto old dictionary pages – for more details, go to my post on the design team blog.


Shadowpainting with Distress Reinkers

I’ve liked shadowpainting for some time now, but never seem to use the latex-based masking fluid before it all gunges up in the bottle. It helpfully says on the label to dilute with ammonia to get it liquid again… but I just don’t seem to have that lying around!

Meanwhile, I’ve used WOW! Bright White embossing powder on watercolour paper to do much the same thing – it’s a lot quicker as well using a stamp rather than tracing patterns with latex gunk and waiting for that to set. I’ve used Distress Inks (from reinkers) to colour each of the images. I’ll be teaching the technique at the Manic Stamper Craft Club in Leicester on Saturday 🙂