Faux Stained Glass, Art Nouveau Style

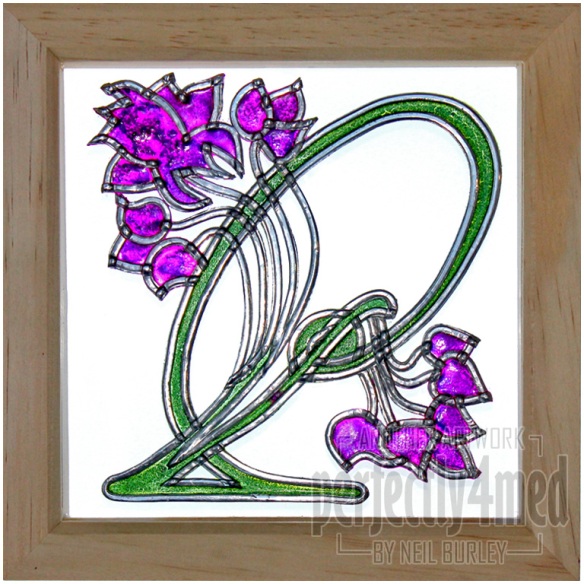
It’s another WOW! Embossing Powder Challenge, and my design team post this month takes their ‘Art Nouveau/Art Deco’ theme as its inspiration. I studied the period and art for a time whilst at college, and I loved the classic whiplash shape, the stylised botanicals and especially the stained glass. Here is my homage, using self-adhesive lead and embossing powder as my only materials (other than the 6×6″ deep frame…). More making instructions over at my post.

Faux Stained Glass


Now Level 3 Certified Powertex Trainer…

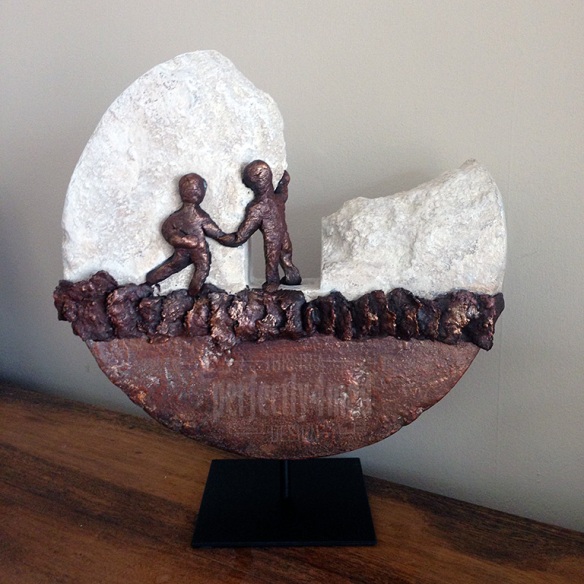
I spent a day with the fabulous Brit once again, learning how to paint with Powertex. Here are the results of a few hours work. Workshops are destined to follow fairly soon as these techniques are fast and great effects easily achieved:

Both techniques concentrate on building layers and texture, with pigment powder highlights. The figures and stones are made from Stone Art/Powertex clay. With practice I think my figures will be a little more uniform – I was going for the slightly more abstract elongated appearance, honest! Sizes – ‘African scene’ – 40x50cm, ‘Stones’ – 40x40cm.


So grateful summer’s here…

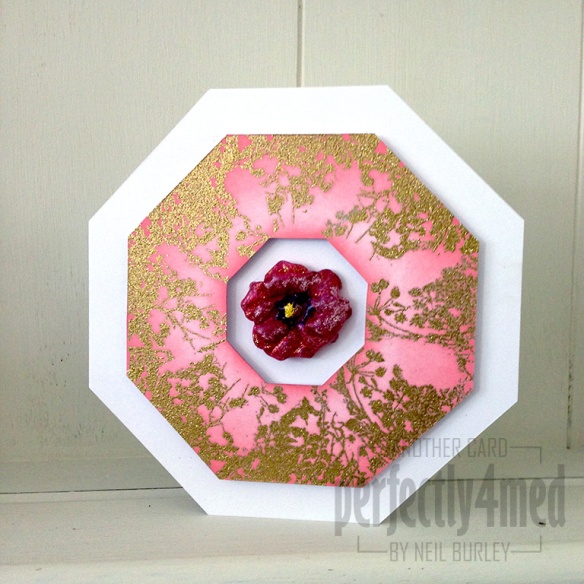
Though everything was a month late at the allotment this year, I did actually have blossom on the fruit trees, unlike last year, and some fruit has set. Unfortunately, the cherry tree is still having problems and I have just one cherry ripening. Not so on this card for The Crafting Cafe, featuring LEJ Designs ‘Blossom’ digistamp:


For more details on how I made the card, check out my post over at The Crafting Cafe.

College Course – Term 6 – Final Exhibition

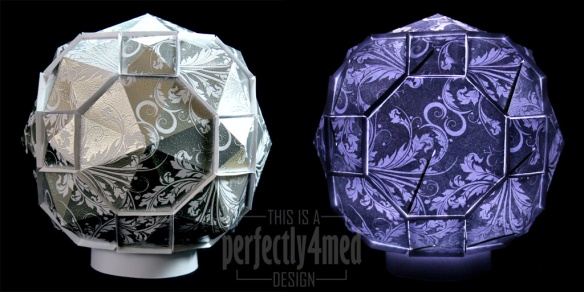
Where has two years gone? Seems to have flown by! And so, I come to the close of my course, and here are the pictures of my final exhibition. I have studio pictures of the final pieces to post as well, and they’ll come in due course. I’ve used a bit of Photoshop jiggery-pokery to get some of the detail right in the exposures, but the light level on the day was more the dome pic than the globe pic (i.e. not as dark as I’d like, but hey ho!).

Keep an eye out for the individual pieces as they will be for sale, complete with free light! I don’t have enough room to store them or display them, so it’s only right they should find a new loving home 🙂

College – Term 5 – Final Ceramics Piece

This piece from last term won’t be exhibited at my end of course show next week, so now it’s been fired and assembled, I thought I’d share it with you here 🙂

The brief was to create a ‘Cornell style box’ (i.e. an assemblage) based on my chosen collection, which, for last term, was beads. The base and top were scaled up from a metal filigree bead, with the top flowers being formed from a mould made using lucite beads. The hanging flowers were sliced from a clay extrusion using my own custom laser-cut perspex die and then individually hand carved and pierced. The clay used was earthstone which goes cream/white when fired, and I decided to keep it unglazed.

The filigree section was formed by sticking down D-shaped extrusions to form the pattern, using slip, and then I used a fine potter’s knife to cut out the enclosed sections. This obviously took the most time! Just as the box was finished, I managed to drop it – a gut-wrenching moment, but happily not much got damaged and the clay was still soft enough to work out the kinks. After that, I was a lot more careful!

Handmade tag book

Over the last couple of days I have been putting together this handmade book as a potential project for a gathering of some of the UK course graduates of the Creative Chemistry 101 online course with Tim Holtz. The cover is made from 100gsm paper dragged through Distress Paints, which has the bonus of being waterproof once dry. The lining was done the same way. The pages are folded from A5 printed sheets of paper and stuck down the opening edge with 3mm wide double sided tape to form the tag pockets. They are handsewn for binding before gluing the spine and sticking into the cover.The completed book contains 25 different #5 tags with the instructions, and I probably need to explore a concertina binding on the spine to account for this…

[Book dimensions: 31/4″x51/4″ (8cm x 13cm)]

Stone carving… with a scalpel?

As previously mentioned, I’ve just completed my level two training in the use of Powertex and their Stone Art product. I was considering what I’d learnt, and decided to attempt another piece to test a concept I’d had an idea for…

And I think the concept works really well – I just need to tweak the colouring a little, but the carved lettering was really quick once the outlines were traced on to the ‘stone’ and with a sharp scalpel, there was minimum effort and mess. The pencil and brushes were added as an afterthought and were just as easy to ‘carve’ into the stone. I’d love your commissions for carved signs and just about any shape and size is possible! And postage shouldn’t be prohibitive… the sign is stuck on with double sided tape!


Powertex Certification continues…

I spent yesterday getting more training in the use of the versatile fluid hardener, Powertex. This time we concentrated on ‘Stone Art’. Given that there isn’t a single grain of anything even vaguely resembling stone in the project below, it’s a very impressive product!

Powertex Stone Art - first projectThe base is the heaviest part of the project, and also likely to be the only part that isn’t weatherproof. I took the opportunity to get a stack of materials into stock (and find somewhere in the studio to store them!) so I’ll be playing some more as I get some samples ready for workshops later in the year. Thanks to Brit for another cracking training session.