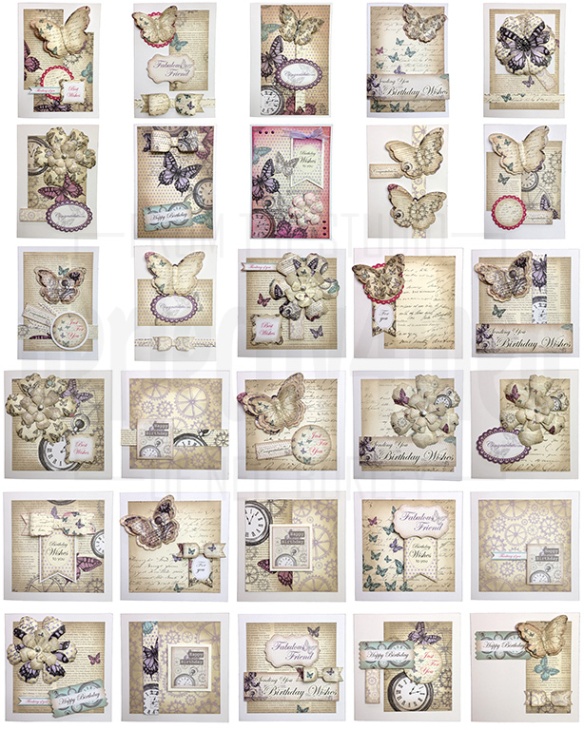
Time Flies – thirty cards and a gift box

CollectionI fell in love with the ‘Time Flies Collection’ from Craftwork Cards at a recent Woodware Retailers’ Day. I got hold of the 8×8″ paper pack and the elements pack and set to work to create as many individual cards as I could using the elements and as little additional kit as I could. Using mainly Pumice Stone Distress Ink and double sided tape or glue, I made 30 cards and decorated a left-over chocolate box to make a gift box. Additional materials include foam pads; Onyx, Majestic Purple and Pewter Liquid Pearls and a bit of ribbon. A really fun project for the bits in between all the Christmas festivities, and a super collection of papers and die cuts. Several of the cog background cards are suitable for the ever elusive ‘man card’ as well. Clickable gallery follows…

UPDATE 02-JAN-14: Anyone attending CHA 2014 may just see some of these 🙂

Continue reading

CC102: Day 1

Day 1: Distress PaintsThe longer-term followers of this ‘ere blog will probably vaguely remember that I did Tim Holtz’s Creative Chemistry 101 online class last year. He’s only gone and started CC102 today – there’s thirty more techniques he’s sharing – and of course I had to sign up. So here’s Day 1: six things to do with Distress Paints. I’m not allowed to share the techniques, but you won’t need to look far elsewhere on my blog to see where I have used them with conventional acrylics. That is, all but the first – the marbling effect is unique to Distress Paints because of their make up.


Quick mixed media tags

I’ve got into the studio at last to do my own thing in between some craft room reconfiguration and college work! I’ve chosen to do some quick mixed media tags using mainly Ranger/Tim Holtz products:

Continue reading

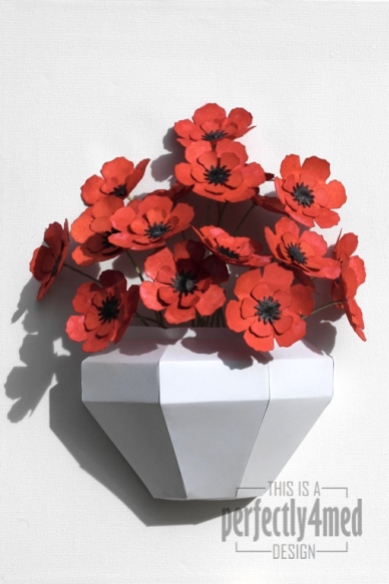
Tattered Flowers in a Paper Vase

IMG_1165_w


I’ve taken a bit of time out from designing for my college course to make this canvas featuring a paper craft vase and paper craft, die cut, hand coloured and constructed flowers. I’ll be entering it into Tim Holtz’s Tattered Floral Challenge as it is his Tattered Floral die that I used to cut the flowers from 160gsm thin card. The vase is made from the same card to my own design – SVG file available if anyone would like it…

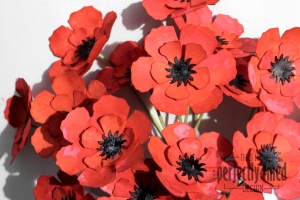
Each flower layer was wrinkle free distressed in first a layer of Fired Brick and Festive Berries both sides, dried and then wrinkle free distressed in a layer of Fired Brick with Ripe Persimmon. They were then dried before being spritzed and flicked with water and left to dry naturally. The centres were punched and then sprayed with Dylusions Granite spray. The flowers were assembled onto florists wire and stuck together with matt multi medium and left to dry over night before being glued into the vase and onto the canvas background.

IMG_1167_w

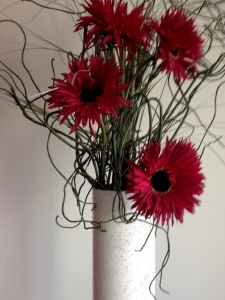
Here’s the inspiration pic, a vase of flowers in our lounge:

IMG_3472

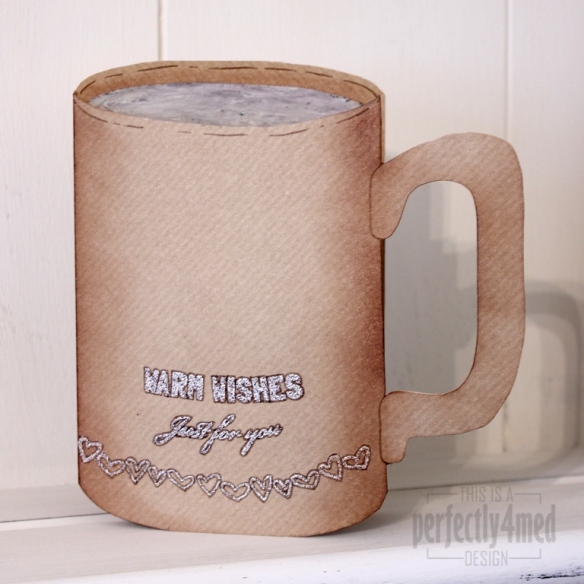
Warm Wishes – Kraft & Kreme

I’ve been asked to do a guest slot on the Less is More blog today 🙂

This week’s theme is Kraft & Kreme, and as always, a clean and simple design is required. Ok, my design might not be so simple to make, but it’s clean and simple under the definition of lots of white space (i.e. unfilled – kraft card isn’t exactly white!).

WOW Feb 2013


I cut a 15cm sq kraft card to shape, keeping the oval offcut from the front. I made a mix of 50:50 WOW! Primary Bark with WOW! Vanilla and triple embossed onto the oval offcut, then whilst still hot swirled it with a metal tool. I used the same mixture to emboss the sentiments (from WOW! Merry & Bright Christmas and WOW! Everyday Sentiments) and hearts (from WOW! Gratitude) – I flexed the clear stamps on the acrylic plate to follow the curve of the card. I outlined with Vintage Photo Distress Marker and shaded with Vintage Photo Distress Ink. I’m happy to create a template if anyone requires one 🙂

When you can’t get leather… try grungepaper!

Hi – this morning has been spent on a commission. I have been asked to wear something I have made using WOW! Embossing Powder when I’m demonstrating at the NEC next week [Hobbycrafts Exhibition, stand M12-15]. Though I didn’t immediately dismiss necklace or earrings, I didn’t think I’d enjoy the ear lobe crushing of a clip on, and necklaces just dangle in the melt pot… So I came up with two ‘man bracelets’:

Both bracelets are made from grungepaper coloured with Vintage Photo and Walnut Stain distress inks, embossed using Tim Holtz texture fades embossing folders, stuck down with Studio matte multi medium. Sewing reinforces the whole thing and the fastening is a Tim Holtz copper hitch. Bracelet 1 features the new WOW! Special Edition Embossing Glitters (Caribbean Jewels) due to be launched at the NEC. Bracelet 2 (The Other Wrist) features the WOW! metallic embossing powders. Grungeboard would work as well, but I didn’t have a size that wrapped round my wrist!

Pearlised custom patterned card

The design challenge over at WOW! Embossing Powder blog this month is ‘monochromatic’ and featuring their fabulous pearlescent powders. This is what I came up with, and if you’d like to find out how I made the pearlescent background card/gift box lid pop over and read my post.


Distress palette distress!

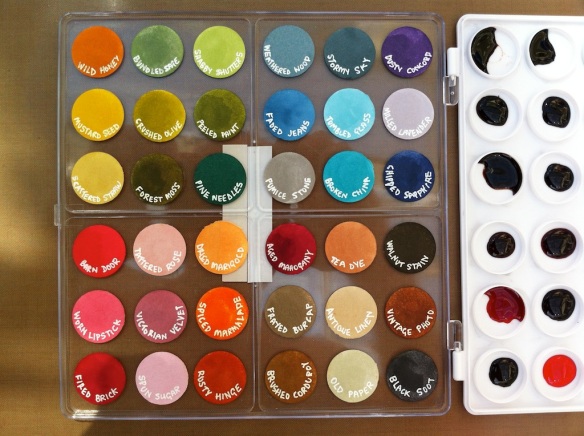
Well, I thought I had it covered… I took my distress ink palette with me on holiday, intending to do some distress water colouring while I was away. I popped it in a bag with a piece of kitchen towel, sealed it up, placed in flat in a box, flat in the car boot and off we went. It seems that somewhere along the 4 hour drive to Holyhead, the ferry crossing to Ireland and 1.5 hours driving in Ireland there was sufficient rock and roll to slosh things about a bit:

Needless to say, I didn’t get any water colour done with this palette – I had to use my distress markers instead. I decided not to waste the lovely colours and used an adaptation of my paper towel printing technique to produce lots of lovely coloured napkins for backgrounds and decoupage:

I have several plies of the oranges, the blues and the greens ready for my collages and bits and bobs. After I’d rescued and used what I could, I set to washing up the mess and replacing the colour swatches on the lid. As you’d expect, all the inks rinsed off the plastic leaving no residues, unlike the stickers which left their adhesive behind – no matter, it just helps the next ones stick more! A couple of hours later, and my palette is restored:

A happy accident? Time will tell as I use up the various bits of kitchen paper I used to blot up the  mess in my artwork – watch this space! I would also like to find a thin sheet of silicone/rubber to seal the palette for the next trip – or thin one inch rubber washers to stick onto the lid. The palette is great, both in construction and price – but it sooo isn’t water tight! I’ve also learnt to only use half a dropper full of ink in each well rather than the full one I did first time round!
 

New Summer Distress Inks – Perfect Splatter Distress

I snuck a few minutes in the craft room this morning to tidy up, and managed to play with my new Summer Distress Inks from Ranger. They are really bright hues, reminiscent of Dyan Reaveley’s colour palette, but as with all the other distress ink seasonal ranges, they play nicely together. I combined them with Perfect Pearls from the Jewels kit and the perfect splatter technique I learnt in Creative Chemistry 101 to make this tag. The embossing is Metallic Gold Rich Super Fine from WOW! Embossing Powders.

Mixed Media – Exhibition Piece

It’s been a while again since I’ve posted – I’ve been busy finishing off end of year projects at college, culminating in our exhibition last night. Here’s just one of my pieces (I’ll share some more in a couple of days), for the final mixed media module, inspired by the work of Jacek Yerka, my ‘chosen’ artist for this term.

Continue reading