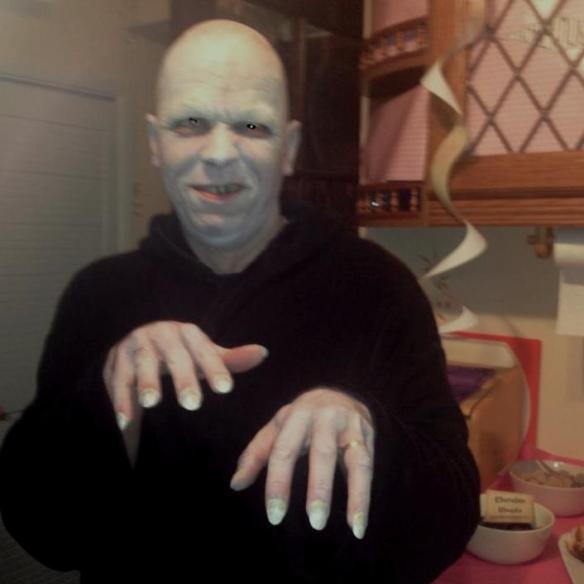
 Now I’m not entirely sure why I appear to have googly eyes in this photo… but I was the nominated driver, so it wasn’t the butterbeer! This is me, as Voldemort, at a Harry Potter fancy dress party last night. I started the makeover by using a Pritt glue stick to stick down my eyebrows – several layers, drying between each. Next was eye liner and eye shadow – doesn’t that need practice?! Then copious amounts of white face paint, with added red round eyes, and hints of green. Finally veins and general grot were added with eye liner or black face paint and a fine brush before being smudged in. And then came the fun part of trying to not itch, brush, scratch, bump or otherwise remove any of it!
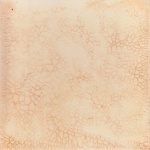
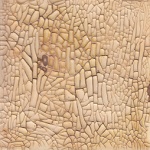
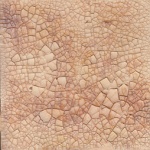
The nail are artificial and though supergluing them (that was the included glue) was good for security, not so good for quick removal later… Cover with a layer of white nail polish, follow up with dabs of grey in the bottom third, and then dab green on the cuticle line. Add dry brushed brown lines for texture, smudging with a finger tip as it dries. Finally, mix a little black nail polish in a clear top coat and brush over the lot. White/green face paint over fingers and wrists to blend in, and emphasise the length of fingers using black paint in the the webs between the tendons towards the back of the hand and blend in.
Top tip – apply your black tooth wax BEFORE you lengthen your nails.
I’ve never done any sort of make up before, and the moving canvas created particular problems – like my eyebrow covers peeling off when I was laughing…
And a handy tip – much the same make up job seems perfect to be The Emperor from Star Wars or Uncle Fester from the Addams Family. That’s the next couple of fancy dress parties sorted. I just won’t use superglue next time.