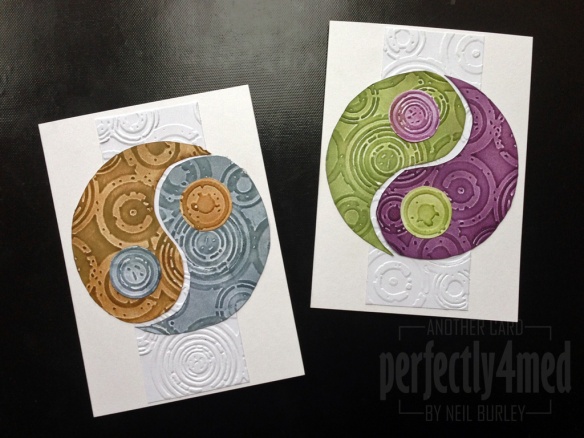
It’s my last official day as a student (though my student ID card is still valid for another month… what can I find with a discount on? 😉 ), and I’ve popped down to the studio to do a bit of creative work before some of the tutors and my class mates come round this evening for an end of course party. These cards are part of my colour development work – I used Photoshop to create an inverted (negative) version of the distress ink colour palette and then colour matched the results to the inks. This way, I was able to quickly find the complementary colour for each ink, that being the colour opposite on the colour wheel. Frayed Burlap complements Weathered Wood, and Bundled Sage complements Dusty Concord. I added even more yin and yang with the Retro Circles texture fade folder.
Monthly Archives: June 2013
College Course – Term 6 – Final Exhibition
Where has two years gone? Seems to have flown by! And so, I come to the close of my course, and here are the pictures of my final exhibition. I have studio pictures of the final pieces to post as well, and they’ll come in due course. I’ve used a bit of Photoshop jiggery-pokery to get some of the detail right in the exposures, but the light level on the day was more the dome pic than the globe pic (i.e. not as dark as I’d like, but hey ho!).
Keep an eye out for the individual pieces as they will be for sale, complete with free light! I don’t have enough room to store them or display them, so it’s only right they should find a new loving home 🙂Mechanised Greetings Card
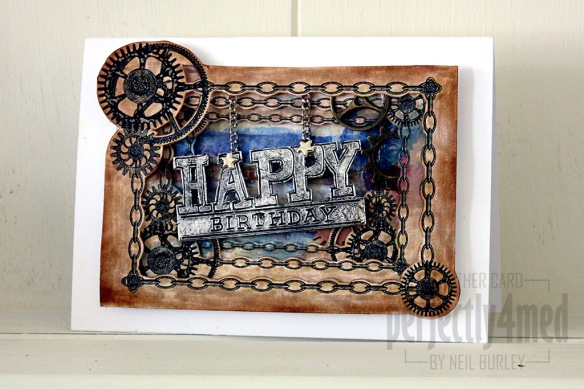
 Well, ok, it only looks like it’s mechanised… but it’s my design team card for The Crafting Cafe ‘Here Come the Boys’ theme this month. More on how I made it over at their blog, here.
Workshop news…
 I’ve posted details of my first class over on the Workshops page. It’s a Craft Evening/Stashbuster Clinic for the grand total of just £5, with refreshments and reasonable use of equipment and materials included. There is a PayPal buy now button if someone would like to book in and test the technology for me!
Death knell for a mural
Apparently it’s got to that time when you realise that you need to start working round the house redecorating. To be honest, cracks and imminent ceiling failure perhaps have spurred this realisation on a little faster… which means that for the bathroom, at least, it’s time for a makeover. Unfortunately, that means it’s time over for the mural that has been there for almost ten years.
The mural isn’t the first I’ve painted – that was back when I was 14 or 15. But this one was by far the most planned and artistic, using emulsion paint and a glaze to thin it. The colours were dictated by the tiles chosen and I used natural sponge to imitate the pattern in paint. The rest was stippled or rolled on, with the aim of it all to be a ruined Greco-Roman temple. Another piece of ancient history disappearing… roll on the future!
College – Term 5 – Final Ceramics Piece
This piece from last term won’t be exhibited at my end of course show next week, so now it’s been fired and assembled, I thought I’d share it with you here 🙂
The brief was to create a ‘Cornell style box’ (i.e. an assemblage) based on my chosen collection, which, for last term, was beads. The base and top were scaled up from a metal filigree bead, with the top flowers being formed from a mould made using lucite beads. The hanging flowers were sliced from a clay extrusion using my own custom laser-cut perspex die and then individually hand carved and pierced. The clay used was earthstone which goes cream/white when fired, and I decided to keep it unglazed.
The filigree section was formed by sticking down D-shaped extrusions to form the pattern, using slip, and then I used a fine potter’s knife to cut out the enclosed sections. This obviously took the most time! Just as the box was finished, I managed to drop it – a gut-wrenching moment, but happily not much got damaged and the clay was still soft enough to work out the kinks. After that, I was a lot more careful!Mixed media cards
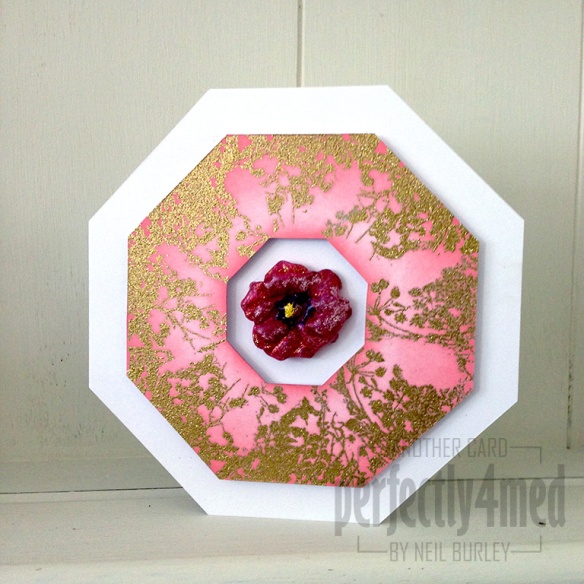
It’s demo time again for the Manic Stamper Craft Club, and I’ve spent the last four sessions teaching various techniques, including distress inks, image transfer, acrylic paints and myriad other art materials. There was a request that we take time out this month to put the techniques into practice, so I’ve spent a while in the studio coming up with these three cards:
The bath time one features image transfer, distress inks, and faux rusted enamel technique. The flowers use acrylic paints for background, stamping, tinting and covering metal embellishments. The final card uses the Ranger Summer Palette Challenge colours in distress inks, stains and alcohol inks as well as a bit of shine from Perfect Pearls, trying the capture the long car journeys for our summer holidays! Hopefully they’ll be enthusiastically received as examples of mixed media chemistry 🙂
It’s been a bit quiet…
… on my blog for the past couple of weeks. That’s because I’ve been busy behind the scenes perfecting the art of casting and carving porcelain ready for final project pieces for college, applying and not getting a part time job, digging and planting the allotment, settling into the new studio, researching and buying fire safety equipment, public liability insurance and registering as self-employed from the beginning of next month!
College finishes with an exhibition at the end of the month, after which I’ll be able to post some pictures of my final project pieces, and from then on I’m freelancing. The timetable for the summer includes workshop planning, sample making and a couple of studio open days for groups I’m involved in.
In the meantime, I’ve posted the ‘small print’ for the workshops so that I am compliant with all the various guidelines for internet selling as well as being as helpful as I can be! They’re here if you’d like a read. If there are any workshops based on products or projects you’ve seen on my blog (or anywhere else for that matter!) then do let me know 🙂


