
 The image I’ve used is a digistamp from The Stamping Boutique sponsors for this month’s Crafting Cafe challenge – check their blog later in the month to see the card I make with it.
But the purpose of the colouring in was to trial and review the deluxe set of Chameleon Pens I recently purchased. There have been a fair number of reviews online, both good and bad, and a fair number of my Facebook friends had indicated they hadn’t got on with them at all and had returned them. I watched all the available videos I could find, as well as the shows on Create & Craft, found a good offer and went for the full set.
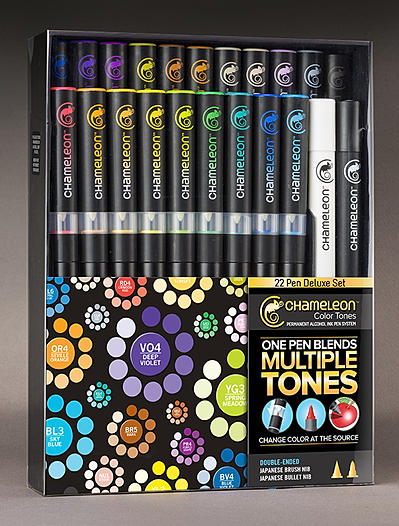
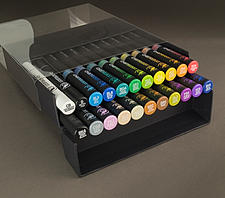
For the uninitiated, the pens are a basic dual tip alcohol ink pen – there is a bullet point and a brush-like nib. In addition is a reservoir of the solvent attached to each pen with its own brush nib. In use, you put coloured tip to solvent tip, keep solvent on top and the pen upright for a defined period, and then start colouring – the solvent dilutes the colour, resulting in a tint which develops the fuller colour as the ink flows back into the nib. Thus from one pen, you can get all the shades. The ink on the page is also translucent, and along with other alcohol ink pens, blends whilst wet and overlays once dried. The deluxe pen set includes all 20 colours, a blending pen and a detail black pen, along with some spare nibs and an instruction sheet. They are in a handy holder which also presents the pens for use when open.
For my full review, read on… but in the meantime here’s the executive summary. I think in terms of colour intensity, blending, bleed and application, these pens are pretty much like-for-like alongside Letraset’s ProMarkers. Their USP is the many shades, one pen however:
PROS> no swapping pens constantly, no need for several pens or layers to shade light to dark, mix time allows for planning next area (i.e. time isn’t wasted). CONS>Getting large areas the same shade is very difficult unless keeping to undiluted pen colour; may need to use a different colouring method.
CONCLUSION: These are a great addition to my alcohol pens, and best suited to detailed images needing obvious shading. I’d not recommend them for large areas of same shade colouring – I’d stick with several ProMarkers. I certainly don’t regret buying them and definitely won’t be sending them back!

