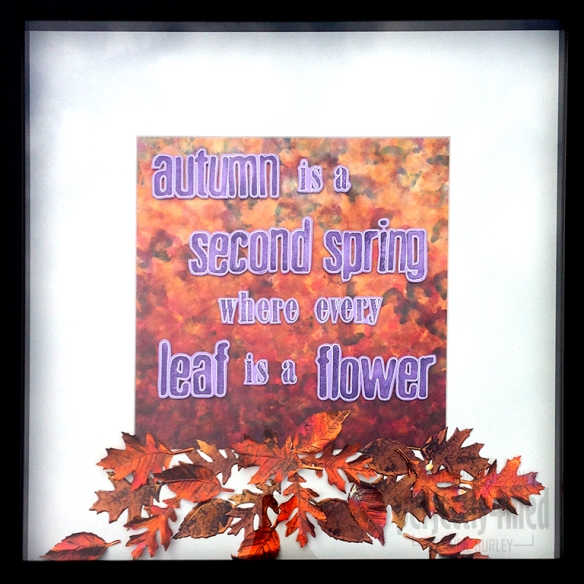
It’s officially autumn here in the UK, and on cue, the sun has disappeared, the temperature has plummeted and the rain is thrashing down! I’m having a go at getting on the Creative Expressions Design Team, and submitting a last minute entry to their design team call which closes today. As part of the application, I had to create a piece on the theme of ‘autumn’ and spent Wednesday making this piece. It’s in a 50cm square frame and features a 12×12″ alcohol inked glossy background, stamped and heat coloured embossed copper leaves and stamped and outlined lettering. For more making details, read on!
Tag Archives: glossy card
Clematis card
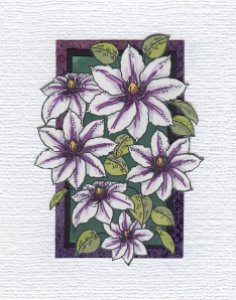
Remember the clematis pictures? Well, I worked out how to mount them to make a greetings card 🙂
I marked and then cut a rectangular frame (green section), and cut out all the background outside of the frame. I then matted that onto black card with a narrow border. That was then matted onto hand-coloured glossy card with wider margins, before mounting the whole thing onto a square, textured white card. The glossy card was sprayed with Adirondack Color Wash (cranberry, wild plum and denim), then water to merge and activate the colours, and then a sheet of kitchen roll laid onto it and then pulled off leaving the quilted texture in the wet ink. I’m rather pleased with the results 🙂
Glossy Background Variations
This is this month’s project for a card crafting workshop afternoon I teach on the third Saturday of each month in Leicester, UK. See my ‘about me’ page for more details.
Distress ink was applied to an A4 sheet of glossy card using a brayer: broken china, dusty concord and worn lipstick. I then cut the sheet into quarters and left one quarter as was [flowers]. The second quarter I sprayed with water and allowed to dry, giving a speckled bleached look [butterflies]. The third quarter I wiped some of the ink off with a baby wipe, before using a scrunched up vinyl glove to apply the same colour inks from the pad to the card to get a wrinkled look on a bleached out background [lily/gems]. The final piece was dabbed with a scrunched up moist baby wipe, again producing a bleached effect [tree]. Each piece was cut in half again (ie eight pieces from one A4 sheet). Images were stamped on with either black or opaque white Stazon ink, and matted onto bazzill cardstock. The tree foliage in this example was added after stamping the tree silhouette by dabbing ink on using the scrunched up vinyl glove (a scrunched up plastic bag or cling film would work as well). The gems on this occasion are dabs of Stickles glue in coordinating colours – but hotfix rhinestones or self-adhesive gems would work far better.


