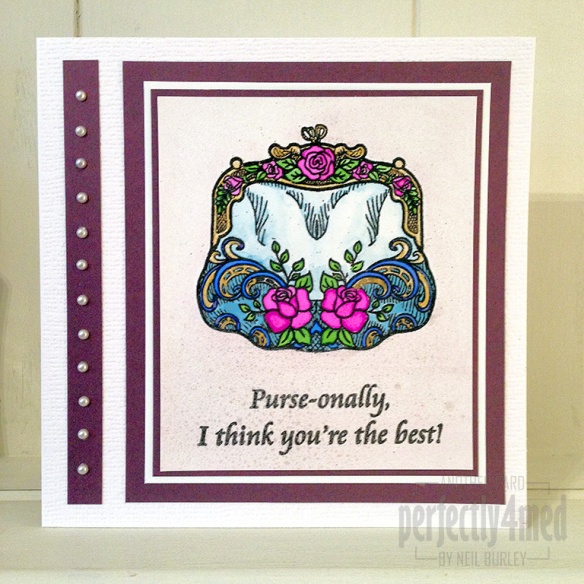
 Welcome to another year on my blog, and we kick off with a card featuring the latest Creative Expressions Singles stamp – Rose Blossom Purse. The Singles range are rubber stamps pre-mounted on cling foam and cut out ready for slapping onto acrylic plates for stamping. I’ve done a simple card, concentrating on using lots of different colouring techniques for my tutorial…
You will need:
Creative Expressions Singles ‘Rose Blossom Purse’
Cosmic Shimmer Detail Embossing Powder: Black
Cosmic Shimmer Acrylic Drawing Inks: Magenta Flame/Lilac Blue/Meadow Lime
Cosmic Shimmer Iridescent Watercolour Paint: Pastel Aqua
Cosmic Shimmer Iridescent Mica Pigments: Pale Gold
Creative Expressions Self-Adhesive Pearls: Cream 3mm
Cosmic Shimmer Misting Sprays: Pearl/Vintage Antique Rose
Cosmic Shimmer Specialist Acrylic Glue
Foundations A4 Card: Rich Plum/Coconut White
Ranger Perfect Medium: Clear
- Firstly, place both the image and the sentiment stamps onto an acrylic block and ink up with Perfect Medium before printing onto Coconut White card. Cover with Detail Black embossing powder, tip off the excess and return this to the jar. If there are any stray bits of powder, brush these away with a dry brush. Heat set the embossing powder with a heat gun – it should raise and go glossy – if it goes matt, you’ve overheated it and it’s soaked into the card.
- Using the Meadow Lime acrylic ink, colour in the leaves. Shake the Magenta Flame ink before using it to colour in the roses. Being water based, these inks will be pushed away from the embossed lines, so you can puddle the inks in between for deeper colour (as well as painting over the lines). Similarly shake the Lilac Blue acrylic ink and colour in the swooshes.
- For the gold areas, dip a fine paintbrush into clean water and then into the Pale Gold iridescent mica powder. Mix to a paint consistency on a non-stick craft sheet or palette adding more clean water if required. Use this to fill in the areas on the image.
- For the pale blue fills, add a couple of drops of clean water to the surface of the Pastel Aqua iridescent watercolour paint, wait a few seconds or so for the paint to soften and then paint onto the image. For the palest areas, drag the paint out with a clean, wet brush.
- For the background, I decided to spritz with the pearlescent Mists, so I printed the stamp using a black ink onto waste paper and cut it out to make a mask. I then misted with the Cosmic Shimmer Pearl Mist, before very very lightly misting with the Vintage Antique Rose (hold the spray much higher than normal). Dry naturally or with a heat tool and then remove the mask to reveal the purse. If you don’t like the mica mist over the embossed sentiment, either mask the text or leave this until after doing the background, making sure the card is dry before embossing.
- Mat the image onto Rich Plum card, add pearls to another strip of Rich Plum card and adhere everything together with the Cosmic Shimmer Acrylic Glue.


I like this a lot Neil.. so pretty ..and the words really finish it off for me! Purse-onally I think this is fab.!
E x
Hi Neil, I love this Card and thank you for breaking down the Techniques you used to achieve this wonderful project, I love the Colours you have chosen also it’s Just Wonderful x
Lovely crd Neil , love the vibrant colour palette. Happy New Year. Tracy x